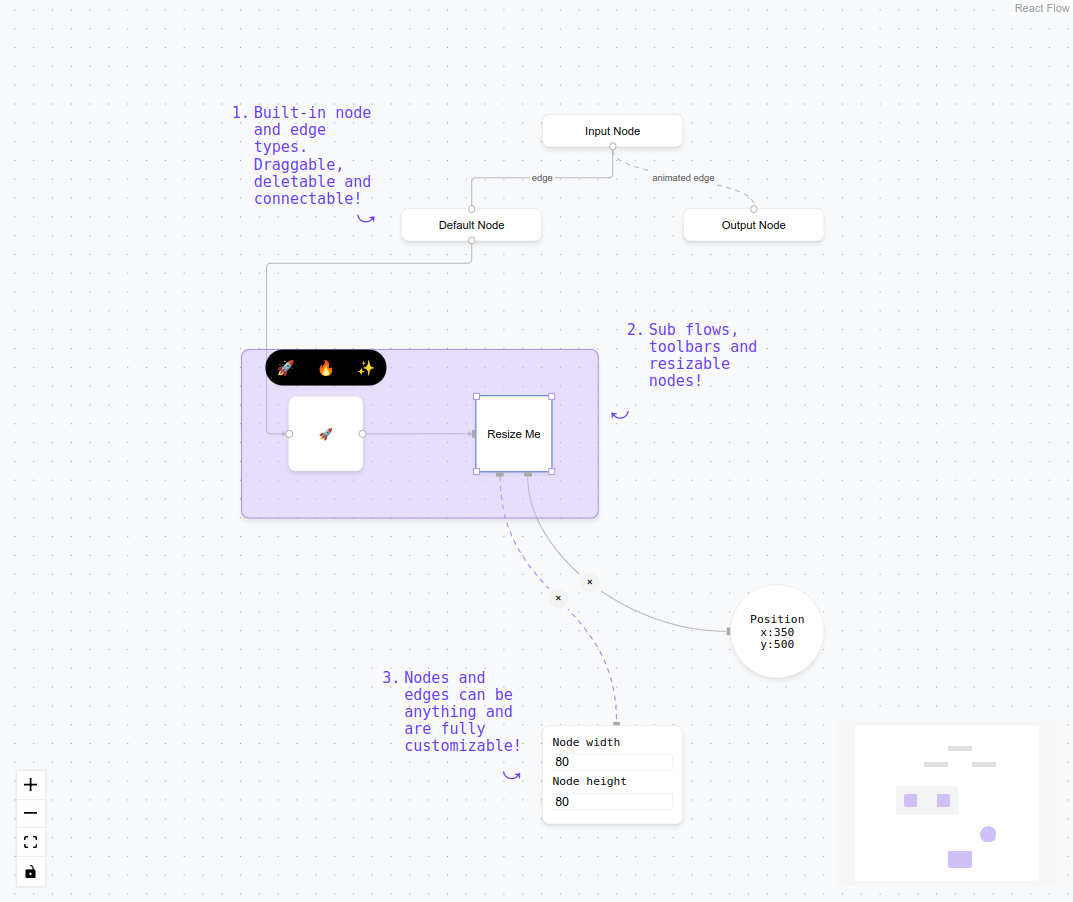
Have you ever wondered how can you build an application like Draw.io or eraser.io. Personally, I used to feel like this is such a complex application to build and no doubt it used to be the case but now, It is now. Thanks to libraries like React-Flow and Vue-Flow (respective to their frameworks)!
Being a react Developer, I have tried to use React-Flow and it feels a lot easier to build things using it!
Let’s dive into the basics of React-flow
You can initialize the project with any framwork, be it Next.Js or Vite. I have worked a lot on Next.Js and now felt like working on Vite. So, I used that!
- create a vite application and initialize it however you want, add react and you can use JavaScript or TypeScript. So, use the below command to intialize the Vite project
$ npm create vite@latest-
Remove any unneccessary code in the
app.tsxfile and since, I am learning, I can use it in this file only! -
Now, we can import the
ReactFlowcomponent from the@xyflow/reactpackage, like Below
import { ReactFlow, Background } from "@xyflow/react";

function App() {
    return (
        <div className="w-screen h-screen">
            <ReactFlow>
                <Background />
            </ReactFlow>
        </div>
    );
}

export default App;
Note: Keep in mind Parent of the ReactFlow component should be having some height otherwise the component won’t display on the page!
Here I am using Tailwind CSS for setting full height and width of the container, you can specify however you want!
-
Notice I am using Background component inside the ReactFlow component, It is also imported from the
@xyflow/reactpackage. If you want to display the dotted background, then you use it otherwise, it works as it also! -
Now, We have to setup nodes. Here’s the structure of node you can use!
const nodes = [{
      id: "1",
      type: "prompt",
      data: { text: "Welcome! Press 1 for Sales, 2 for Support." },
      position: { x: 100, y: 100 },
    }];
Notice the nodes are the array of objects(JSON) format. We can define as many as we want like this!
We’ll give this nodes data to ReactFlow component as Props
<ReactFlow nodes={nodes}>
    <Background />
    <Controls />
</ReactFlow>- Now, we have to make connection with nodes. For that, we’ll add the edges.
const edges = [
    { id: "e1-2", source: "1", target: "2", label: "1" },
];

<ReactFlow
    nodes={nodes}
    edges={edges}
>
    <Background />
    <Controls />
</ReactFlow>
Just like nodes, we can give the edges to ReactFlow component props!
- All this for using things programatically! Now What If we want to use connect the nodes using drag and drop functionality.
There are handlers/functions for that also! Like
onNodesChange,onEdgesChange, andonConnect.
onNodesChange - If we want to change something in Node in the browser, for example if we want to change the position of the Node. We can use onNodesChange
onEdgesChange - If we want to change something in the Edge in the browser, for example if we want to update or remove an edge to a node, we can do with this handler onEdgeChange
onConnect - If we want to change something in the Edge in the browser, for example if we want to connect some node with an edge to another node, we can do with onConnect.
Here is the Finalized code of how can we use the above function and stuff in controlled way!
import {
  addEdge,
  applyEdgeChanges,
  applyNodeChanges,
  Background,
  Controls,
  Edge,
  Node,
  ReactFlow,
} from "@xyflow/react";
import "@xyflow/react/dist/style.css";
import { useCallback, useState } from "react";

function App() {
  const initialNodes = [
    {
      id: "1",
      type: "prompt",
      data: { text: "Welcome! Press 1 for Sales, 2 for Support." },
      position: { x: 100, y: 100 },
    },
    {
      id: "2",
      type: "prompt",
      data: { text: "You selected Sales. Please wait..." },
      position: { x: 300, y: 200 },
    },
    {
      id: "3",
      type: "prompt",
      data: { text: "You selected Support. Please wait..." },
      position: { x: 300, y: 300 },
    },
  ];

  const initialEdges = [
    { id: "e1-2", source: "1", target: "2", label: "1" },
    { id: "e1-3", source: "1", target: "3", label: "2" },
  ];

  const [nodes, setNodes] = useState<Node[]>(initialNodes);
  const [edges, setEdges] = useState<Edge[]>(initialEdges);

  const onNodesChange = useCallback(
    (changes) => setNodes((nds) => applyNodeChanges(changes, nds)),
    []
  );
  const onEdgesChange = useCallback(
    (changes) => setEdges((eds) => applyEdgeChanges(changes, eds)),
    []
  );

  const onConnect = useCallback(
    (params) => setEdges((eds) => addEdge(params, eds)),
    []
  );

  return (
    <div className="w-screen h-screen">
      <ReactFlow
        nodes={nodes}
        edges={edges}
        onNodesChange={onNodesChange}
        onEdgesChange={onEdgesChange}
        onConnect={onConnect}
      >
        <Background />
        <Controls />
      </ReactFlow>
    </div>
  );
}

export default App;